Productivity
Create a project
Start a project for a client from scratch or from a template, with its lead, team, dates and budget.
Create a project when a client engagement needs its own place for tasks, files, time and money. Link it to the client and everything stays connected to their record, invoices and portal.
Create a project
- Open Productivity › Projects and select Add project.
- Choose Start from Scratch, or Use Template to start from a saved project template.
- Enter the Project name, for example "Scranton website redesign".
- Choose the client's Account.
- Set the Lead, Members, Status, Start and Target dates, and who can see the project.
- If you have finance access, add a Budget and a Default rate for billable time.
- Add Milestones if the project has clear checkpoints.
- Create the project.
You're done when the project opens on its Overview tab.
Start a project from a won deal
When you win a deal, start its project from the deal instead. The client, budget and dates are filled in for you.
- Open the won deal and select Start project.
- Choose a Template and a Start date. The template's tasks show with their due dates, counted from that date. Clear any you don't need.
- Select Create project.
You're done when the project opens with From deal on its Overview. See Start the project.
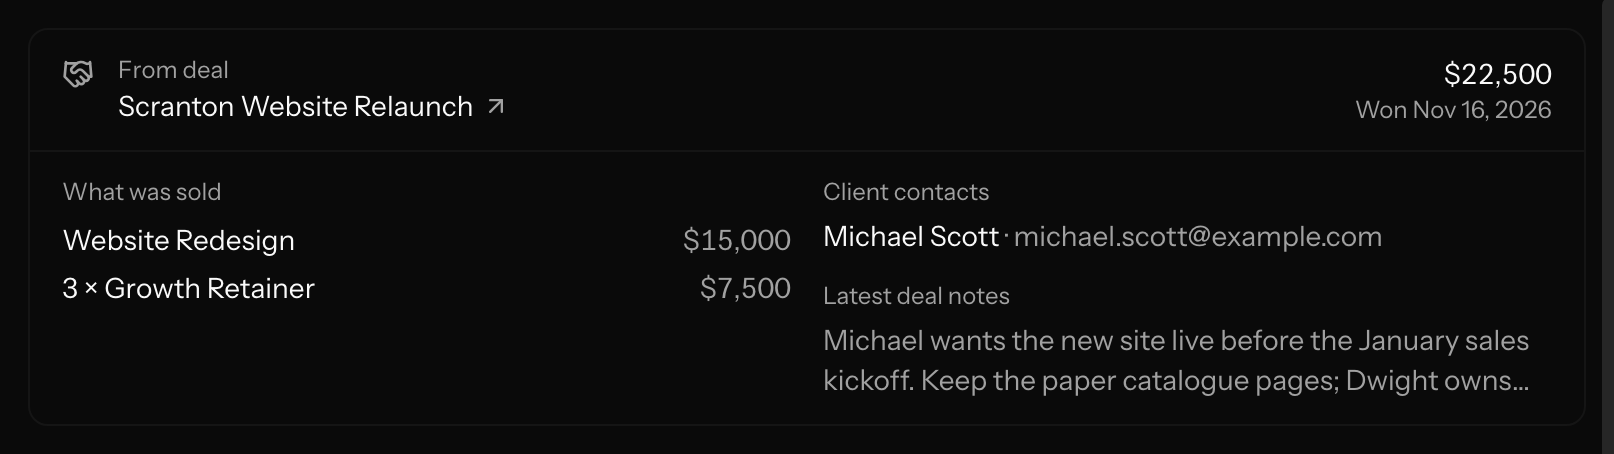
From deal shows what the team needs to start: what was sold, the client's contacts, the latest deal notes, and a link back to the deal and its accepted proposal.
Who can see it
- Team (the default): the lead, members, and workspace admins and managers.
- Private: only the lead and members, plus the workspace owner. Admins and managers don't see it unless you add them. Anywhere else it comes up, such as an invoice or report, it shows as Private project.
- Public: the same as Team inside your workspace. It doesn't share the project with clients; see Share project work with clients.
You can change this later with Edit project.
Next steps
- Add the first tasks and assign them.
- Upload the brief or contract on the Files tab.
- Share the project with the client if they should follow along.
- Set up recurring work, such as a monthly report.
Good to know
- Use Planning before work starts and Active once it does. Leave the dates empty for ongoing work such as a retainer.
- New projects start with the workspace Default hourly rate from Settings › Productivity.
- Task and milestone due dates from a template count from the project's Start date, or from the day you create it if it has none.
- After creating from a template, check every task, date and owner and remove what doesn't apply.
- On a private project, someone assigned a task sees that task but not the rest of the project.